Thuya Brow Lamination: A Comprehensive Guide
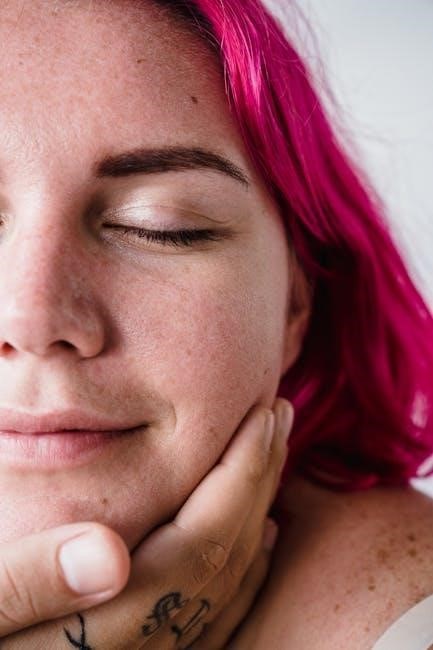
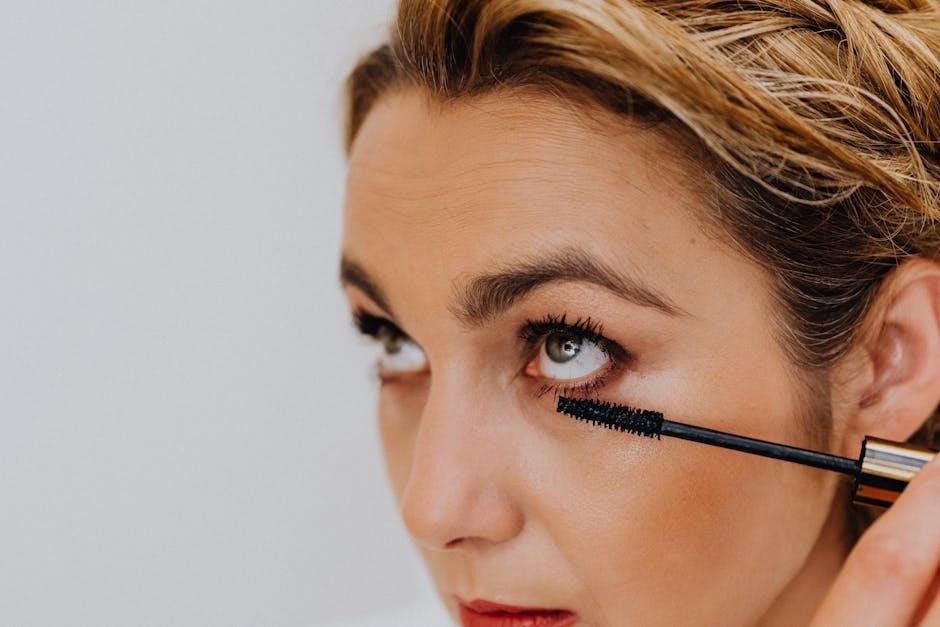
Thuya brow lamination is a popular cosmetic procedure gaining traction‚ offering a semi-permanent solution for achieving fuller‚ more defined eyebrows.
It involves redirecting the brow hairs to create a desired shape‚ providing a polished and effortless look.
This guide details everything you need to know about this transformative treatment‚ from preparation to aftercare‚ ensuring optimal results and client satisfaction.
What is Thuya Brow Lamination?
Thuya Brow Lamination is a revolutionary eyebrow treatment that restructures and lifts the brow hairs from the root‚ creating a fuller‚ more voluminous look. Unlike microblading or traditional brow shaping‚ it doesn’t involve adding pigment or removing hair. Instead‚ it utilizes a chemical solution – the Thuya kit – to temporarily break down the disulfide bonds in the hair‚ allowing them to be reshaped.
This process essentially “perm”s the eyebrows‚ setting them in a new‚ desired direction. The result is beautifully brushed-up‚ fluffy brows that appear naturally thicker and more defined. It’s a fantastic option for those with unruly brows‚ sparse areas‚ or simply wanting to enhance their existing brow shape. The treatment typically lasts between 6-8 weeks‚ depending on hair growth cycle and aftercare adherence. It’s a non-invasive alternative offering a polished‚ low-maintenance brow aesthetic.
The Thuya system is specifically formulated for brow lamination‚ ensuring gentle yet effective results.
Understanding the Benefits of Thuya
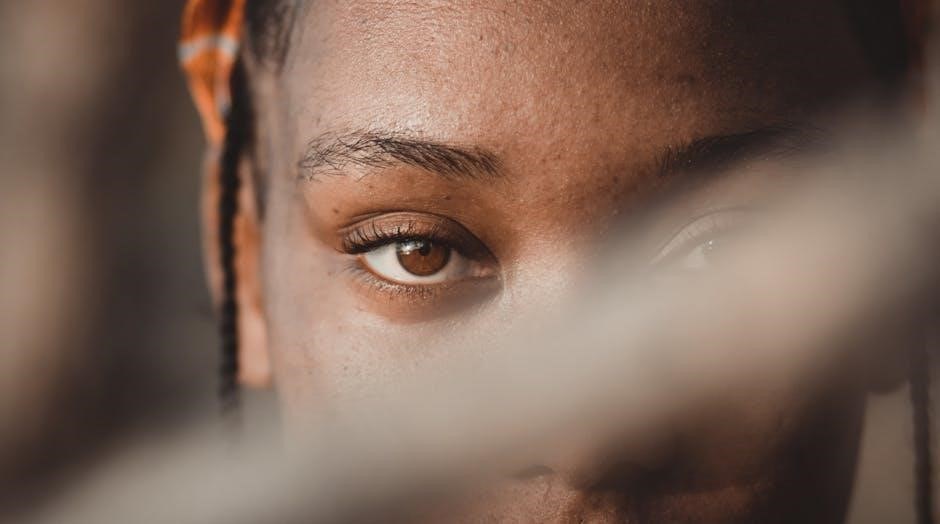
Thuya brow lamination offers a multitude of benefits‚ making it a sought-after treatment for brow enthusiasts. Primarily‚ it creates a fuller‚ more defined brow appearance without the need for makeup. This is achieved by lifting and straightening the hairs‚ maximizing their natural volume and creating a uniform shape. The treatment is particularly effective for taming unruly brows‚ providing a sleek and polished look that lasts for weeks.
Unlike microblading‚ Thuya lamination is non-invasive and doesn’t involve any cutting or pigmentation of the skin. This makes it a lower-risk option with minimal downtime. It’s also customizable‚ allowing technicians to tailor the shape and lift to each client’s unique brow structure and preferences. The results are incredibly natural-looking‚ enhancing existing brows rather than creating an artificial appearance.
Furthermore‚ Thuya can help to train brow hairs to lie in a more desired direction over time‚ potentially reducing the need for daily styling.
Thuya vs. Traditional Brow Lamination
Thuya brow lamination distinguishes itself from traditional brow lamination through its unique formulation and focus on hair health; Traditional lamination often utilizes harsher chemicals that can potentially damage the brow hairs‚ leading to dryness‚ brittleness‚ and even breakage over time. Thuya‚ however‚ incorporates ingredients designed to nourish and protect the hairs throughout the process.
A key difference lies in the lifting solutions. Thuya’s formulations are generally considered gentler‚ minimizing the risk of over-processing and maintaining the integrity of the hair structure. This results in a more sustainable lift and healthier brows in the long run. While both techniques achieve a similar aesthetic outcome – fuller‚ shaped brows – Thuya prioritizes the long-term well-being of the client’s natural brow hair.
Many professionals are transitioning to Thuya due to its improved safety profile and superior results‚ making it a preferred choice for both technicians and clients seeking a premium lamination experience.

Preparing for Thuya Brow Lamination
Proper preparation is crucial for successful Thuya brow lamination. This involves a thorough patch test‚ detailed client consultation‚ and gathering all necessary Thuya products and tools for optimal results.
Patch Test: Ensuring Safety
Prior to a full Thuya brow lamination‚ performing a patch test is absolutely essential to guarantee client safety and prevent adverse reactions. This simple yet vital step helps identify potential sensitivities or allergies to the Thuya products. Apply a small amount of the Thuya Lift Cream to an inconspicuous area‚ such as behind the ear or on the inner arm.
Instruct the client to leave the product on for the recommended processing time – typically around 5-10 minutes – and then rinse thoroughly. Closely monitor the area for any signs of irritation‚ redness‚ swelling‚ or itching over the next 24-48 hours. If any reaction occurs‚ do not proceed with the brow lamination treatment.
Document the patch test results in the client’s record‚ noting the date‚ time‚ product used‚ and any observed reactions. A successful patch test confirms the client can safely undergo the Thuya brow lamination procedure‚ minimizing the risk of discomfort or complications. Always prioritize client well-being and adhere to strict safety protocols.
Client Consultation: Assessing Brow Type & Goals
A thorough client consultation is paramount before commencing any Thuya brow lamination treatment. This allows you to accurately assess the client’s brow type‚ hair density‚ growth patterns‚ and overall skin sensitivity. Discuss their desired outcome – whether they seek a natural‚ fluffy look or a more defined‚ sculpted brow.
Carefully examine the existing brow shape‚ identifying any gaps or sparse areas. Inquire about the client’s medical history‚ including any allergies‚ skin conditions (eczema‚ psoriasis)‚ or previous brow treatments. Determine if they are currently using any skincare products containing retinol or other exfoliating ingredients‚ as these can affect the lamination process.
Explain the Thuya procedure in detail‚ managing expectations and outlining potential results. Discuss realistic goals and address any concerns the client may have. A well-informed client is a satisfied client‚ and a comprehensive consultation ensures a safe and effective brow lamination experience.
Gathering Your Thuya Kit & Tools
Essential for a successful Thuya lamination is a comprehensive kit containing all necessary components. This includes the Thuya Lift Cream (perm lotion)‚ Neutralizing Lotion‚ Fix Cream (setting lotion)‚ and optionally‚ a Thuya Tint kit for added definition. Ensure all products are genuine Thuya formulations for optimal results and safety.
Beyond the core kit‚ gather essential tools: disposable applicators (micro brushes‚ spoolies)‚ a plastic wrap for covering the brows during processing‚ a timer for precise timing‚ and a gentle cleanser to prepare the brows. Sterile gloves are crucial for hygiene‚ alongside a head wrap or hair net to keep client’s hair away from the treatment area.
Prepare a clean and sanitized workspace. Having all tools readily available streamlines the process and minimizes potential contamination. Double-check expiry dates on all products to guarantee efficacy and client safety. A well-prepared setup is key to a professional and efficient Thuya brow lamination service.

Step-by-Step Thuya Brow Lamination Instructions
Embarking on the Thuya lamination process requires meticulous attention to detail. Following a structured approach ensures optimal results and client satisfaction‚ from initial cleansing to final shaping.
Step 1: Cleansing & Degreasing the Brows
The foundational step for successful Thuya brow lamination is thorough cleansing and degreasing. Begin by gently removing any makeup or oils from the eyebrow area using a dedicated brow cleanser or a mild‚ oil-free makeup remover. Ensure all traces of cosmetics are eliminated‚ as residue can impede the lifting cream’s effectiveness.
Next‚ utilize a degreasing solution specifically formulated for brow lamination. This crucial step removes natural oils and sebum‚ creating a clean canvas for optimal product penetration. Apply the degreaser with a microbrush‚ carefully coating all brow hairs from base to tip. Allow it to sit for the recommended time – typically 30-60 seconds – before wiping away with a clean‚ dry gauze pad.
Pay close attention to the skin surrounding the brows‚ ensuring it’s also free from oils. A clean base is paramount for achieving a uniform lift and preventing uneven results. This meticulous preparation sets the stage for a flawless Thuya brow lamination experience.
Step 2: Applying the Thuya Lift Cream (Perming)
With brows cleansed and degreased‚ carefully apply the Thuya Lift Cream – the core ‘perm’ solution – using a microbrush. Start at the base of the brows‚ saturating the hairs and working upwards towards the tips. Ensure every hair is thoroughly coated‚ but avoid getting the cream on the skin‚ as this can cause irritation. The application technique is vital for achieving a consistent lift.
Use the microbrush to gently comb the brow hairs into the desired direction‚ shaping them as you apply the cream. This is your opportunity to create the desired brow arch and fullness. Be precise and methodical‚ paying attention to any stray hairs.
Processing time varies depending on hair thickness and desired lift‚ typically ranging from 5-8 minutes. Monitor closely‚ checking the hair’s flexibility periodically. Do not exceed the maximum recommended time to prevent damage.
Step 3: Neutralizing the Lift Cream
Once the processing time is complete‚ immediately neutralize the Lift Cream with the Thuya Neutralizing Lotion. This step is crucial to stop the lifting process and lock the brows into their new shape. Apply generously using a clean microbrush‚ ensuring complete coverage from root to tip‚ just as you did with the Lift Cream.
Again‚ gently comb the brow hairs into the desired direction while applying the Neutralizer. This reinforces the shape created during the lifting phase. Pay close attention to any areas that may have lost their form during processing‚ and redirect them accordingly.
Allow the Neutralizer to process for the recommended time – typically 5-8 minutes – following the manufacturer’s instructions. Avoid disturbing the brows during this phase. After the allotted time‚ carefully remove the Neutralizer with a clean‚ damp cotton pad‚ ensuring no residue remains.
Shaping & Setting the Brows
This phase focuses on refining the brow shape and securing the laminated style. Tinting is optional‚ enhancing definition‚ while the Fix Cream solidifies the new brow form for lasting results.
Step 4: Applying the Thuya Tint (Optional)
Applying Thuya tint is an optional‚ yet highly recommended step‚ to further enhance the definition and fullness achieved through lamination. This step isn’t essential for the lamination process itself‚ but it dramatically improves the overall aesthetic outcome‚ especially for clients with lighter or sparse brow hairs. Before application‚ ensure the brows are completely dry after neutralizing the lift cream.
Carefully select a tint shade that complements the client’s skin tone and desired brow color. Apply the tint evenly‚ avoiding the skin surrounding the brows to prevent unwanted staining. Use a precise applicator brush for controlled application. Processing time typically ranges from 5-10 minutes‚ depending on the desired intensity and the tint formula used.
Monitor the tint closely during processing‚ checking for the desired color development. Once the desired shade is achieved‚ immediately remove the tint with a damp cotton pad. Thoroughly cleanse the brows to remove any remaining tint residue. This step adds depth and dimension‚ making the laminated brows appear even more striking and well-defined.
Step 5: Applying the Thuya Fix Cream (Setting Lotion)
The Thuya Fix Cream‚ or setting lotion‚ is crucial for locking in the newly shaped brow position achieved during the lamination process. This step essentially “sets” the hairs in their desired direction‚ ensuring the longevity of the lamination results. After thoroughly removing the tint (if applied)‚ apply a generous amount of the Fix Cream to the brows‚ ensuring every hair is fully coated.
Use a spoolie or microbrush to distribute the cream evenly and to further refine the brow shape. Allow the Fix Cream to process for the recommended time‚ typically 5-8 minutes‚ following the manufacturer’s instructions. Avoid getting the Fix Cream in the client’s eyes‚ as it can cause irritation.
Once the processing time is complete‚ carefully remove any excess Fix Cream with a damp cotton pad. This step is vital for stabilizing the brow hairs and maintaining the laminated shape for weeks to come‚ providing a long-lasting‚ polished finish.
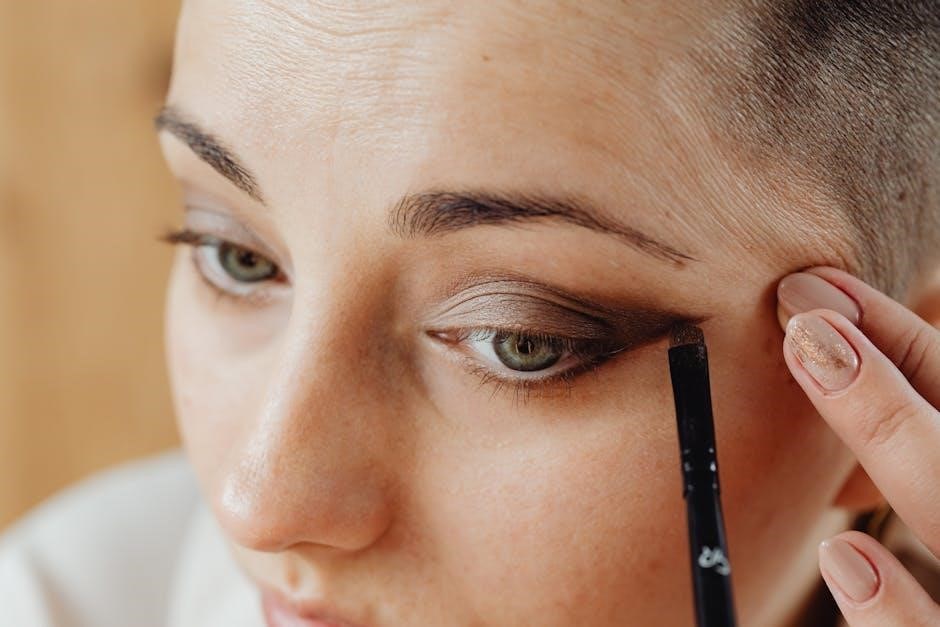
Step 6: Brushing & Shaping the Brows
Following the application and removal of the Thuya Fix Cream‚ it’s time to refine the brow shape through brushing and styling. This step allows for final adjustments and ensures the brows lay perfectly as desired. Using a clean spoolie‚ gently brush the brow hairs upwards and outwards‚ following their natural growth pattern. This helps to separate the hairs and reveal the full effect of the lamination.
Assess the brow shape and use the spoolie to subtly adjust any stray hairs or areas that need further definition. Avoid excessive brushing or manipulation‚ as this could disrupt the newly set shape. If needed‚ a small amount of brow gel can be applied to further hold the hairs in place and add extra definition.
This final shaping step is crucial for achieving a polished and symmetrical look‚ enhancing the client’s natural brow features and completing the Thuya brow lamination process.
Post-Lamination Care & Maintenance
Maintaining the results of Thuya brow lamination requires diligent aftercare. Avoid water‚ makeup‚ and excessive touching for 24-48 hours to allow optimal setting.
Regular brushing helps preserve the shape‚ ensuring longevity and a flawless finish.
Aftercare Instructions for Clients

Following your Thuya Brow Lamination treatment‚ proper aftercare is crucial for achieving the best and longest-lasting results. For the initial 24-48 hours‚ it’s imperative to avoid getting your brows wet. This includes showering‚ swimming‚ saunas‚ and even excessive sweating from exercise. Water can disrupt the setting process and compromise the lamination.
Furthermore‚ refrain from applying any makeup‚ skincare products‚ or oils directly to the brow area during this period. These products can interfere with the hair’s new position and potentially cause irritation. Avoid touching or rubbing your brows frequently‚ as this can also disturb the newly shaped hairs.
To maintain the shape and health of your laminated brows‚ gently brush them daily with a spoolie brush. This helps to keep the hairs aligned and encourages continued growth in the desired direction. Avoid harsh rubbing or pulling. Hydrating the brow area with a light‚ non-oil-based moisturizer after the initial 48 hours can also contribute to healthy brow hair.
How Long Does Thuya Brow Lamination Last?
The longevity of a Thuya Brow Lamination treatment typically ranges from 6 to 8 weeks‚ though this can vary depending on individual hair growth cycles‚ aftercare adherence‚ and the natural texture of your brows. Those with coarser‚ more resistant hairs may experience results lasting closer to the 8-week mark‚ while individuals with finer hair might see the effects diminish slightly sooner.
Consistent adherence to the recommended aftercare instructions – avoiding water‚ makeup‚ and excessive touching – significantly contributes to maximizing the duration of the lamination. Regular brushing with a spoolie also helps maintain the desired shape and encourages the hairs to retain their new alignment.
As new brow hairs grow in‚ they will not be laminated‚ gradually causing the overall effect to lessen over time. Maintenance appointments‚ typically scheduled every 6-8 weeks‚ are recommended to refresh the lamination and maintain consistently full‚ sculpted brows.
Troubleshooting Common Issues
Uneven Lift: If the lift isn’t uniform‚ ensure thorough saturation of the lift cream during application‚ paying close attention to sparse areas. Processing time may need slight adjustments based on hair thickness.
Over-Processed Brows: Excessive processing can lead to breakage. Carefully monitor the timing and perform strand tests. If over-processing occurs‚ immediately neutralize and hydrate the brows with a nourishing oil.
Irritation or Redness: A patch test is crucial to prevent allergic reactions. If irritation occurs despite testing‚ discontinue use and apply a soothing balm. Ensure proper cleansing to remove all product residue.
Lamination Not Holding: Insufficient neutralization or improper aftercare can cause the lamination to relax prematurely. Reinforce with the fix cream and emphasize avoiding water and manipulation for 24-48 hours.
Patchy Results: This often stems from uneven product application or varying hair textures. Precise application and potentially pre-treating resistant hairs can improve outcomes.
Advanced Thuya Techniques & Considerations
Mastering Thuya involves adapting techniques to diverse brow types and integrating it with services like tinting and microblading for enhanced‚ customized results.
Safety remains paramount‚ requiring diligent adherence to contraindications and thorough client assessments.
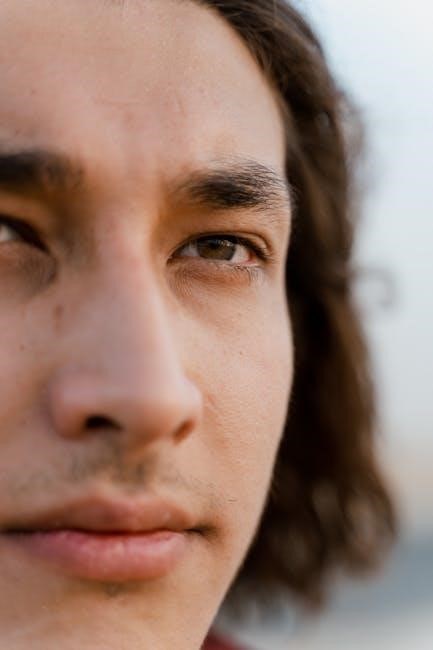
Laminating Different Brow Types
Understanding brow variations is crucial for successful Thuya lamination. Coarse‚ thick brows generally require a longer processing time with the lift cream to ensure complete relaxation of the hair follicles. Conversely‚ fine or sparse brows are more delicate and necessitate shorter processing times to prevent over-processing and potential damage.
For straighter brows‚ focus on creating a subtle arch and enhancing their natural fullness. Utilize the brush to guide the hairs upwards and outwards‚ achieving a lifted‚ yet natural look. With already arched brows‚ emphasize the existing shape by carefully setting the hairs in their desired position. Avoid pulling the hairs too tautly‚ as this can lead to an unnatural appearance.
Clients with unruly or multi-directional brows will benefit most from Thuya lamination‚ as it allows for precise control and reshaping. Pay close attention to the hair growth patterns and use the lifting cream strategically to redirect the hairs into a uniform direction. Always prioritize the client’s natural brow shape and enhance it‚ rather than drastically altering it.
Combining Thuya with Other Brow Services
Synergistic effects can be achieved by combining Thuya brow lamination with other popular brow services. Brow tinting is a fantastic complement‚ enhancing the fullness and definition created by the lamination process. Apply tint after lamination and neutralization‚ ensuring the hairs are set in their desired shape for optimal color absorption.
Brow shaping‚ whether through waxing‚ threading‚ or tweezing‚ should ideally be performed after lamination. This allows you to see the new brow shape and remove any stray hairs without disrupting the laminated structure. Microblading or powder brows can be enhanced with lamination‚ as it creates a smoother canvas and highlights the pigment work.
Caution is advised when combining Thuya with more invasive procedures. Allow sufficient time between services to avoid potential irritation or damage. Always prioritize the health and integrity of the natural brow hair. A thorough consultation is essential to determine the best course of action for each client’s unique needs and desired outcome.
Safety Precautions & Contraindications
Prioritizing client safety is paramount when performing Thuya brow lamination. A patch test is mandatory 48 hours prior to the service to check for allergic reactions. Avoid application on broken skin‚ eczema‚ psoriasis‚ or any skin irritation around the brow area. Pregnancy and breastfeeding are considered contraindications due to the chemicals involved.
Clients undergoing chemotherapy or radiation therapy should avoid lamination. Similarly‚ individuals with very sensitive skin or those taking certain medications‚ like Accutane‚ should consult their doctor before proceeding. Always use sterile‚ single-use applicators to prevent cross-contamination.
Proper ventilation is crucial during the process. Instruct clients to avoid water‚ makeup‚ and excessive sun exposure for at least 24 hours post-treatment. Educate clients about potential risks and ensure they understand the aftercare instructions. If any adverse reaction occurs‚ immediately discontinue use and seek medical advice.